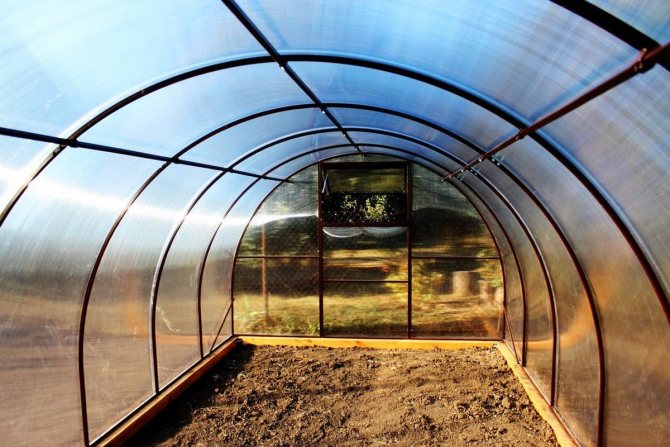
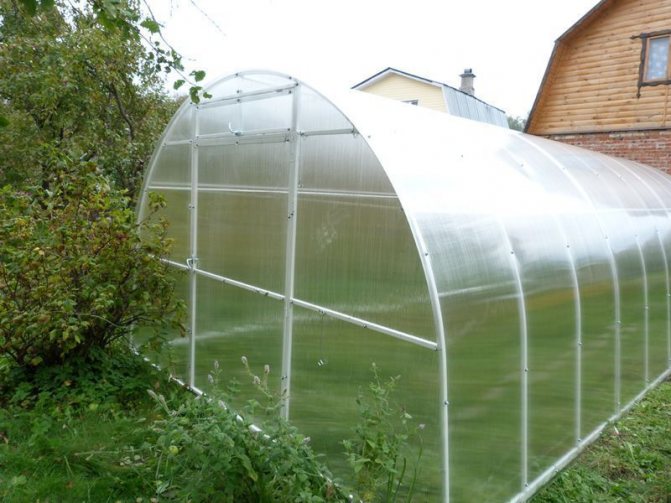

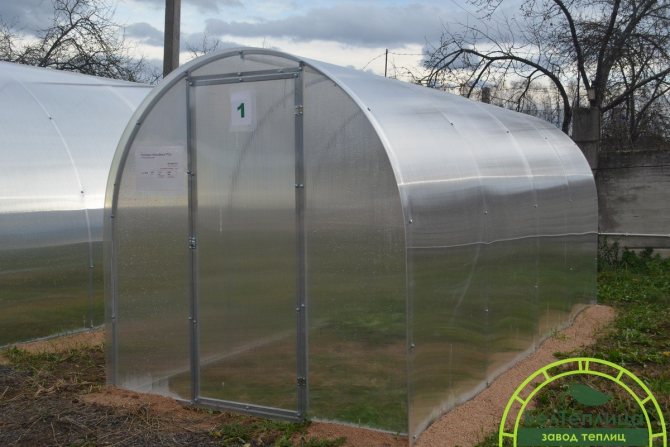
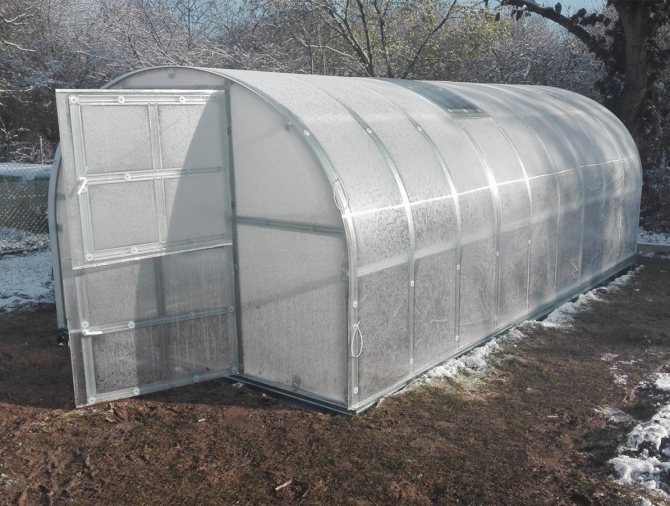
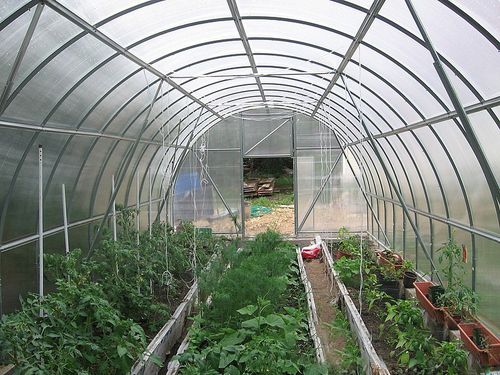
It is not without reason that polycarbonate greenhouses are very popular among both experienced gardeners and amateurs - the features of the material make the design as efficient and convenient as possible. Moreover, in some cases, the foundation for the greenhouse is not required. Today we will talk about how expedient it is to make a polycarbonate greenhouse without a foundation, as well as how to install such a structure.
Greenhouse foundation: disadvantages
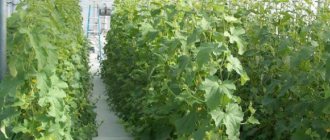
A self-built polycarbonate greenhouse is a real home for cultivated plants, where they can develop, bringing rich harvests. The foundation is the support of the entire greenhouse; in case of hurricane winds, a structure without a foundation can easily turn over or get serious damage to the frame.
The absence of a polycarbonate greenhouse foundation can lead to large heat losses, so the structure can only be operated in the warm season.
A greenhouse structure, without a foundation, will be exposed to an invasion of soil pests (moles, shrews, mice).
The construction of a polycarbonate greenhouse without a foundation does not guarantee complete protection of plantings from atmospheric precipitation (dew and fog), which can lead to fungal infections.
Choosing a place for a greenhouse
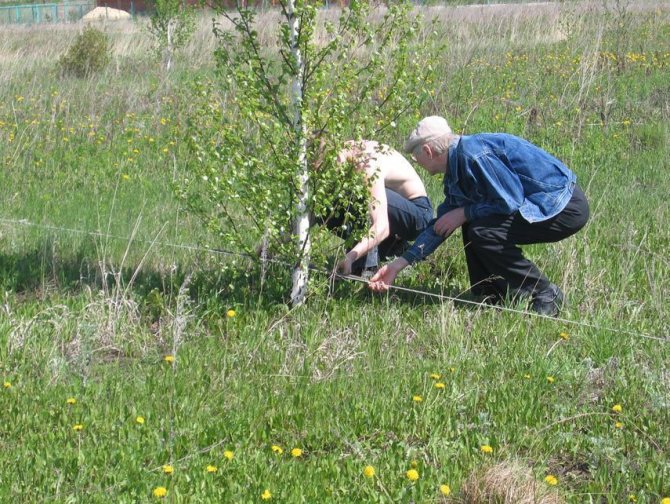
One of the most important steps in installing a greenhouse is choosing a suitable fertile plot of land for it. It must meet the following requirements:
- have a flat surface;
- stay out of the shade (at least most of the day);
- located at least 3 m from the nearest structure or tree.
Important! Trees are the main enemies of greenhouses, as their extensive underground root system can interfere with the planting and germination of plants inside the greenhouse. And due to the peculiarities of the construction of buildings in the garden area, drafts can form.
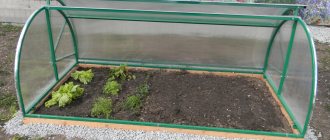
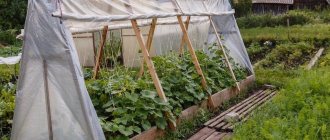
A polycarbonate greenhouse without a foundation: how to properly install and fix the structure
Have you decided to use the polycarbonate greenhouse only during the warm season? Considerable savings will be achieved:
- You do not need to arrange a foundation, you can install a greenhouse with your own hands without building a support base.
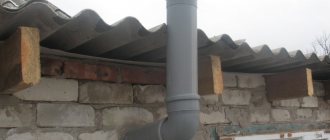
- In winter, transportation costs for travel to the summer cottage will be reduced in order to timely remove the snow cover from the polycarbonate sheets on the roof of the greenhouse complex.
- Achieved savings on heating the greenhouse in the winter.
Choosing a place for a portable greenhouse
For growing products in a polycarbonate greenhouse complex without erecting a stationary foundation, it is of great importance to choose a place for installing polycarbonate greenhouse structures with your own hands.
When choosing a site, you should be guided by the following criteria:
The soil on the site must be fertile. To determine the composition of the soil, it is required to first open a small hole (a depth of 70 cm is sufficient), which is easy to do with your own hands using a conventional shovel.
The right location for a good harvest
Having studied the soil taken out of the pit, it is worth making a conclusion about what composition of the soil predominantly occurs on the site. If there is a lot of sand in the test soil, this is the most successful ratio of the composition of the soil for planting vegetables.Irrigation water is not retained in such soil, the excess of which freely flows through the sand cushion into the deeper layers of the soil.
If the soil consists mainly of clay, or there is a strong salinity, it is necessary to change the top layer of soil throughout the entire area of the site, which is allocated for a polycarbonate greenhouse. To do this, they dig a pit with their own hands, equal to the area of the greenhouse complex, and remove the mainland soil. At the bottom, they arrange a bedding from a layer of coarse sand or fine gravel, on top of which fertile soil is poured, after which you can put the greenhouse in the chosen place.
Determination of the best soil in the summer cottage
Find an area with dry soil. Make a small indentation in it to find out what kind of earth is below the surface.
- The clay place should be discarded immediately. Clay does not have the ability to absorb excess moisture, which means that after watering, there will be water in the greenhouse. Subsequently, these climatic conditions will negatively affect the harvest.
- A place with a subsoil sandy layer is best.
Note: When there is no suitable soil on the site, then a pit will need to be dug in the clay soil. Its bottom is covered with gravel, on top - with a sand cushion, and the last layer is fertile soil.
Groundwater that is closer than 1.2 meters from the soil surface can harm plants. In the event of heavy rains, the water will come to the roots of the plantations, and they will begin to rot.
If groundwater is close to the surface, it will be necessary to drain the site.
The nuances of installing a greenhouse without a foundation
First of all, it must be borne in mind that the installation of a greenhouse without a foundation is possible only if the building is used seasonally. If you plan to grow year-round, this method will not work. The main disadvantage of this installation method is large heat loss, which can reach up to 20%. This means that more electricity, gas or wood will need to be used for artificial heating.
The second drawback is the absence of a basic barrier in the upper layers of the soil, due to which rodents or insects can freely enter the building and harm the grown products. This is due to the fact that an empty space of 10 cm remains between the surface of the soil and the harness of the building.
You can get rid of this disadvantage by using special technologies.
Benefits of installation without foundation
For summer residents who plan seasonal cultivation, the method of installing a greenhouse without a foundation will provide a number of advantages, including:
- Great savings in time and effort. The installation of the structure can be done in just a few days.
- Savings on building materials that must be used to create the foundation.
- All procedures for preparing and installing a greenhouse can be performed on your own.
- A simple process of dismantling the structure, which will need to be completed after the end of the season.
- Mobility. Thanks to this characteristic, the structure can be moved to another place at any time without much difficulty.
Monolithic slab foundation
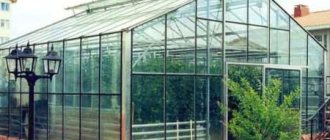
Interested in a design that can provide stability even on soft soils and at the same time protect the greenhouse from drafts, pests and hypothermia? Have you decided to build a very large building suitable for growing vegetables on an industrial scale at any time of the year? If so, then in such a case, a monolithic concrete slab as a foundation is the best choice. This is the most expensive, but also the most reliable and efficient option. The design of a monolithic concrete slab does not fundamentally differ from a shallow strip foundation, you can familiarize yourself with it in the image below.
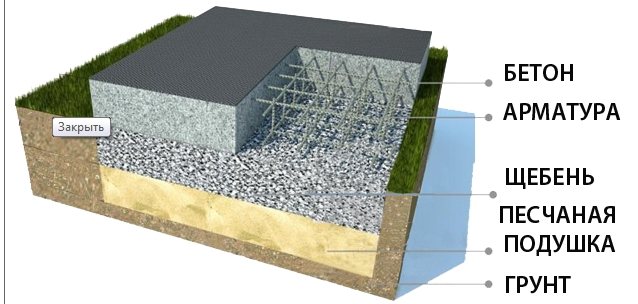
Monolithic foundation diagram
Now let's look at the stages of creating such a foundation.
Step 1. Mark out using pegs and rope. Particular attention should be paid to the control of the diagonals and the perpendicularity of the sides.
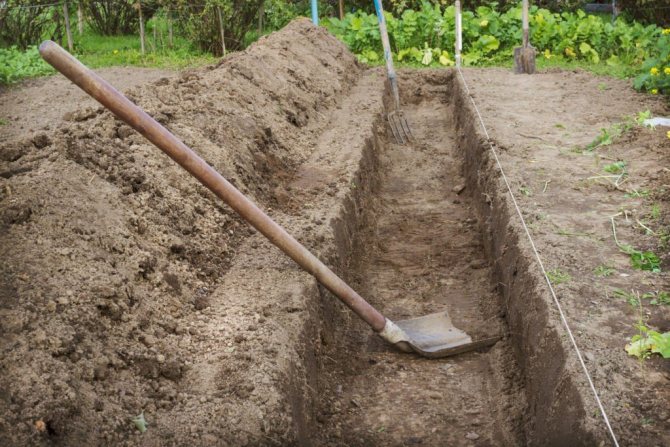
Step 2. Dig a pit at least 50 cm deep.
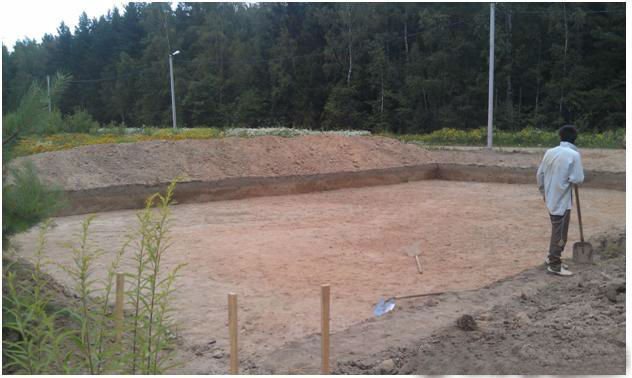
Foundation pit
Step 3. Fill in layers of sand and gravel. Their total thickness should be 25-30% of the pit depth. Tamp them down and, if necessary, cover with geotextiles.
Step 4. Install the formwork around the perimeter of the pit. Cover the space between it and the ground with gravel.
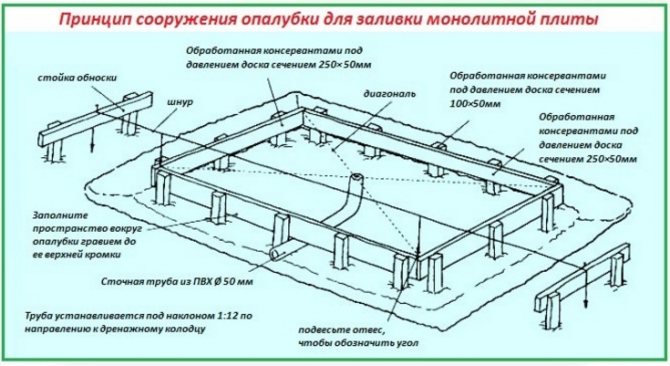
Formwork scheme
Step 5. Install fittings and drain pipe.
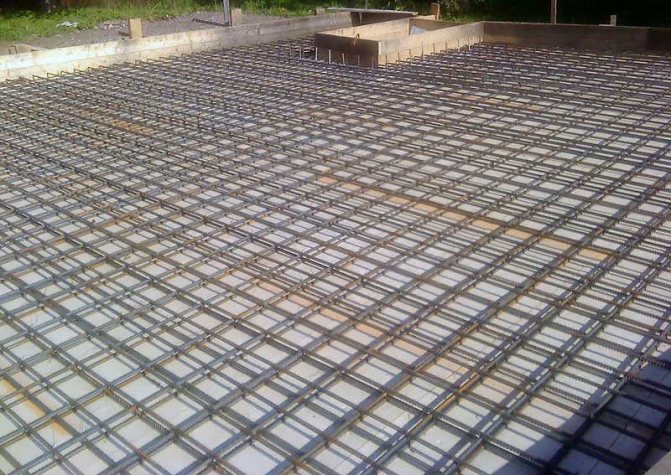
Reinforcement laying
Step 6. Pour concrete up to the edge of the formwork. This stage is very important and requires a professional approach - it is necessary to ensure a perfectly flat screed. Insert anchor bolts or other fasteners for the greenhouse frame.
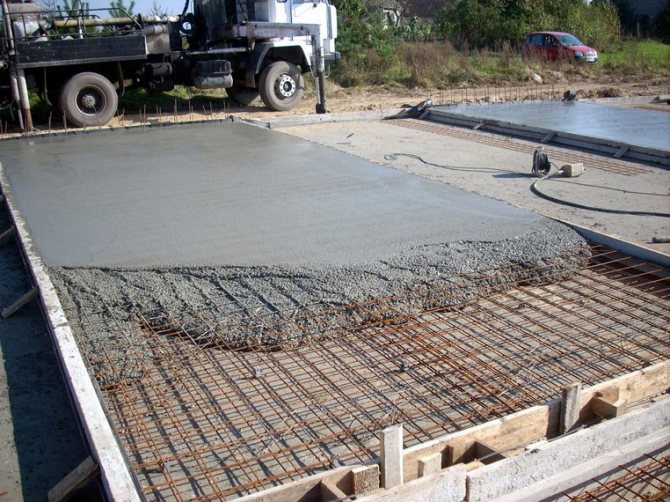
Fill
Step 7. Dampen the concrete for a week.
Step 8. Next, let the foundation slab grab. This usually takes 3-4 weeks, but in warm and dry climates, the process will go faster.
Step 9. Remove the formwork, fill the gap between the slab and the surrounding ground with rubble.
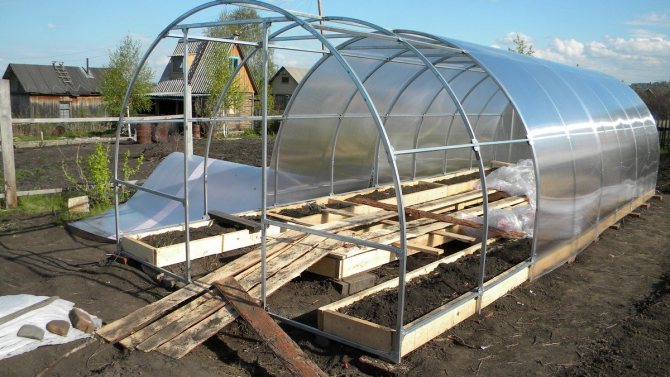
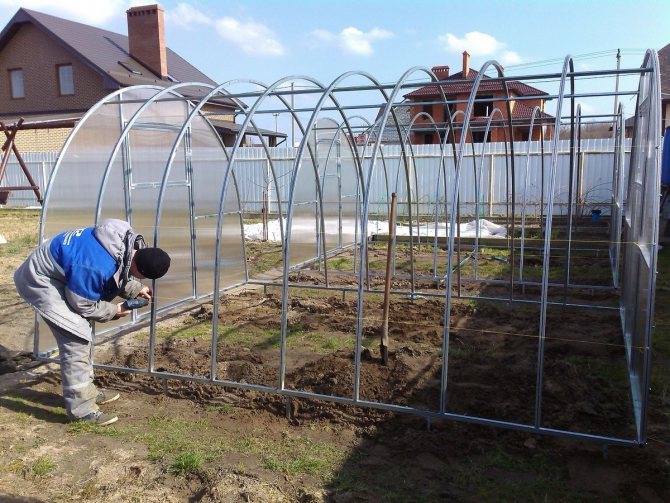
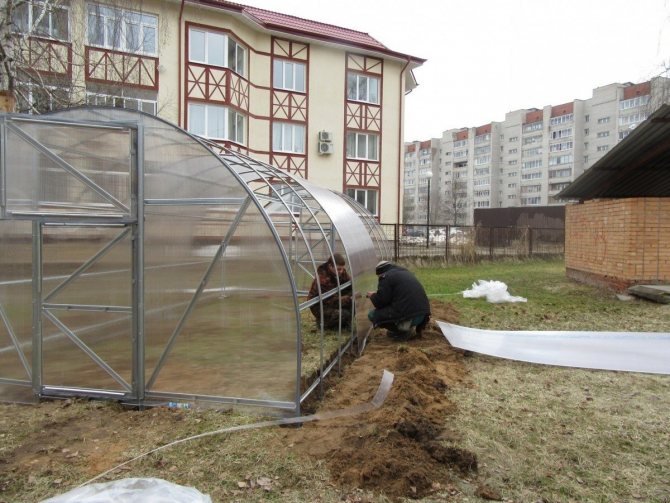
Greenhouse installation procedure on the ground
After choosing the location and time, you can proceed to the installation of the greenhouse. The procedure for such a procedure is as follows:
- Site preparation.
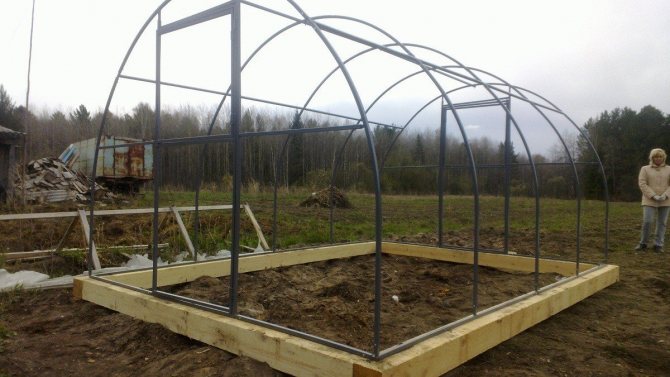
- Assembling the lower trim with support products.
- Installation of the lower frame trim.
- Greenhouse assembly. Installation of polycarbonate cover. Facing vents, side parts and doors.
- Fastening a structure that will protect the lower part of the greenhouse from the penetration of insects or animals.
The general procedure can be adjusted in the process, taking into account the peculiarities of the building and the characteristics of the soil. Some of the procedures can be excluded. When installing on the ground, only the T-supports are buried.
They can be welded to the bottom of the greenhouse or bolted to it.
Terrain preparation procedure
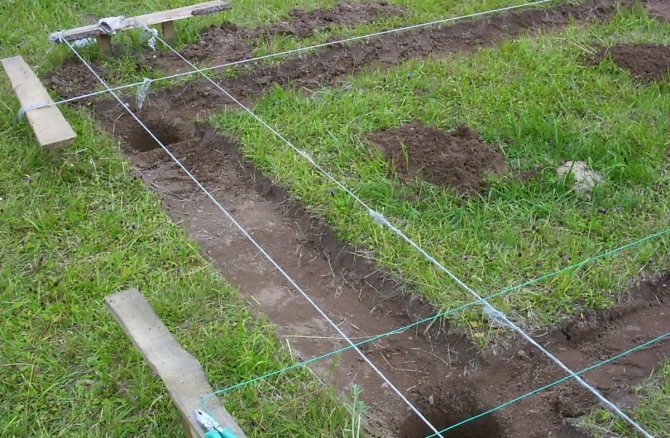
The process of preparing a site for a greenhouse is as follows:
- With the help of pegs, an area of the required size is divided. They are connected with a rope.
- The marked area is leveled. The sod and visible bumps are removed and the evenness is checked with a spirit level. The maximum permissible unevenness should not exceed the 5 cm mark. The entire perimeter of the plot, as well as the 0.7 m strip along the layout, must be taken into account.
- About 0.3 m retreats from the breakdown, after which a line is drawn on the ground using any improvised object. This line will be the outer edge of the pit.
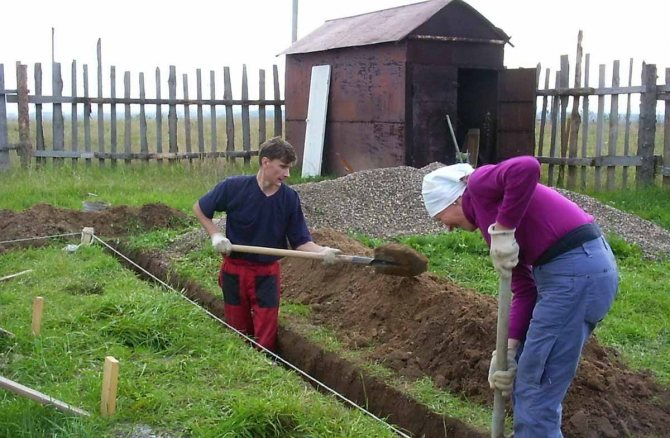
- A hole is dug, the width of which is calculated based on the size of the greenhouse. The depth of the pit will depend on the supporting legs of the structure, usually an indicator of 0.3 m is chosen. The lower trim of the structure frame should rise by about 0.1 m.
- The bottom of the pit is trampled down. Due to the fact that polycarbonate greenhouses weigh 70 kg, and the mass of the structure is distributed over the entire area, there is no need to strongly ram the bottom of the pit.
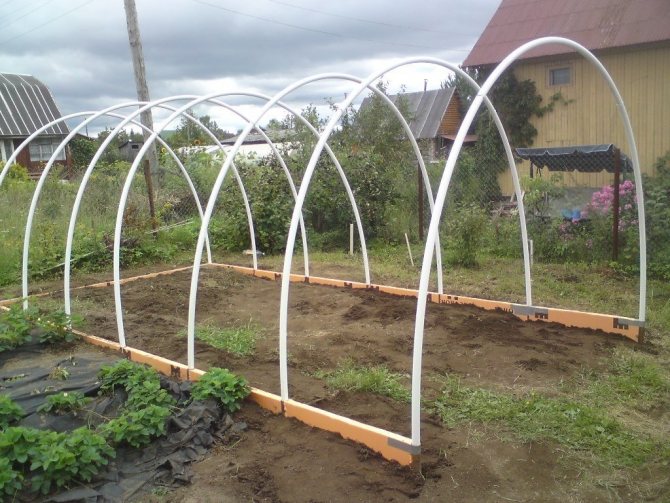
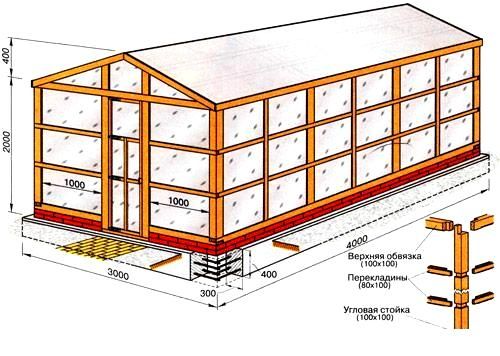
How to make a frame for a greenhouse?
With your own hands, you can make a frame for a greenhouse from materials such as wooden beams and metal profiles. Wood is more affordable and cheaper, but the metal profile is stronger and has a longer service life.
Wooden arch
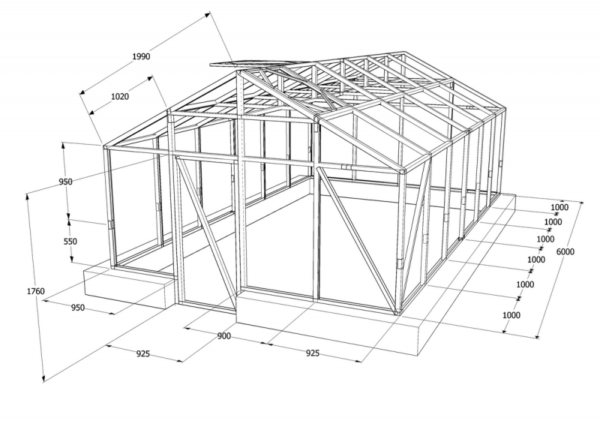
For the foundation, you need to take beams with a cross section of 10-12 cm and a length of 3 m. The columns are dug into the pits around the perimeter of the structure to a depth of 50 cm. It turns out a structure for a wooden arch 2.5 m high.To install a greenhouse measuring 3x6 m, you need to use 6 support columns (4 along the contour and 2 in the center). After installation, the support is poured with a solution and left to dry completely.
You may be interested in: What can be planted after potatoes
The frame is assembled as follows:
- bars with a section of 10 cm (horizontally and vertically) are stuffed on the posts from above and in the center;
- rafters are attached to the upper beams (to give stability to the structure) with a step of half a meter;
- rafters and supporting supports are attached to each other using self-tapping screws.
When assembling the frame, the doors should be located on the north side of the greenhouse. The preferred size of the doorway is 1.88 x 0.8 meters. The size of the window frame is at your discretion.